How to fit StopGap – the quickest way to fill floorboard gaps
StopGap is the cleanest, simplest and quickest way to fill floorboard gaps. These fitting instructions will show you how.
StopGap is made from flexible, springy plastic, the seal sits invisibly in the shadow at the bottom of the gap, leaving the appearance of your floor unaffected. Fitting StopGap couldn’t be easier.


Please note that neutral colour StopGap has been used for clarity in these photographs. We recommend brown StopGap for all floors except white
In practice, choice of colour is not critical because the seal is virtually invisible in the shadow at the bottom of the gap
StopGap – simple enough to be fitted by anyone
Carpeted Rooms
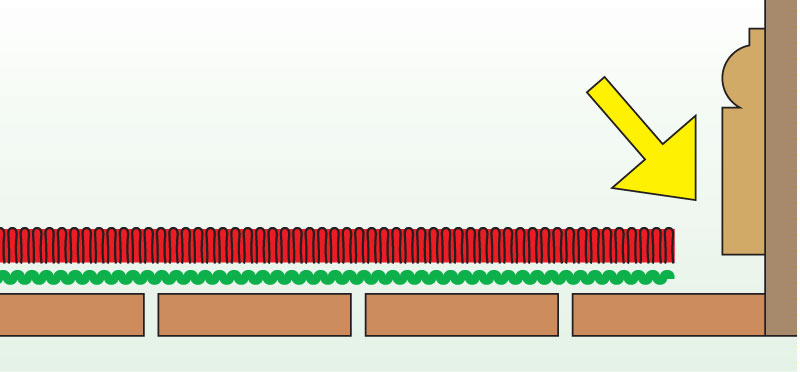
Use StopGap to seal floorboards when laying new carpet and between skirting and floor in carpeted rooms.


Tongue & Groove
StopGap is designed to stop draughts in gaps of 1–8mm wide, especially gaps between square-edged wooden floorboards. The gap must be 10mm or more deep so that the seal can be pushed out of sight. This makes it unsuitable for tongue and groove boards. Exceptionally, the seal can be trimmed with scissors to fit shallower gaps. This restricts the width of gap which can be dealt with and is not really practical for large areas, but, if you are desperate…
