See how easily you can stop draughty floors – photos
Posted onLast weekend I spent some time with the inventor of StopGap, Marcus (aka my dad), taking some photos in the front room of his house. It was this room that started the whole thing off – he sanded the floor but couldn’t use the room in winter because of the draughty floorboards. I think the photos will be useful to you, especially if you have concerns about whether you will be able to see StopGap after it has been fitted.
Here, Marcus has cut the corner of the bag and pulled the end of the strip through. He is folding it along the central crease.

This close up shot shows how the folded strip forms a v-shape. This is the clever bit of the design, as the v-shape means the strip is now springy. It will grip the sides of the gap it is pushed into, holding it in securely.

Simply place StopGap into the gap and push it down using a credit card.

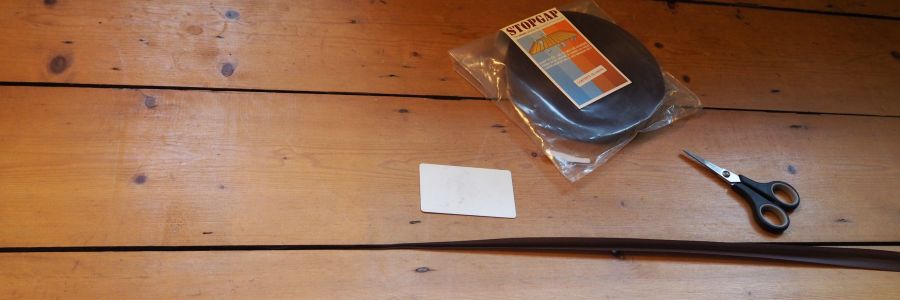
We only used a short piece here for demonstration purposes. You would use one piece to fill the whole length of the gap, cutting it when you reached either the edge of the room, or end of the gap.

Once fitted, StopGap sits at the bottom of the gaps, resting on the joists. With both colours it is hidden in shadow, but we usually recommend brown StopGap for most floors. Neutral works better for those painted white or pale colours.

StopGap is virtually invisible once fitted. We used brown for the demonstration but actually there is already StopGap in this floor. Can you tell which colour?

Is it brown?

Neutral?

Here’s another angle, maybe you can tell from this one.

Answers on a postcard…
I hope these photos have helped you to understand how StopGap works, and how easy (and quick) it is to fit. Its incredibly simple design means it fits snugly enough to withstand vacuuming, but it is also simple to remove, causing no damage whatsoever to your floor.
If you have any questions, please get in touch on our Facebook page. We would also love to see photos of your rooms, it would be great if you could post them there too.